Friday, 5 December 2014

Presentation of Images P5

Overall this images will be used for a magazine in the area of sport specifically Rugby, but looking at the rugby boot which is worn in the sport. The company in which I trying to sell the product of is Nike. 

The purpose of this image is to show of the product which is the Nike is seen and by using the curve effect it enforces the shoe by the bright close on the dark background effect.  


The purpose of this image is to again the image by highlighting apart of the shoe for a magazine to advertise Nike.  


The purpose of this image is to show a black and white image of a close up of the boot that we are trying to sell.


The purpose of the image is to highlight the boot against the black and white so that the shoe stands out.


The same for this image, however the image has been taken closer to the main product that we are trying to sell in the magazine.


The purpose of this image is to give the effect of fading out the image in to black and white from a whole coloured image.


The purpose of this image is to give the effect of two images in to one even though it is one image. This is created by the use of the black and white effect. 


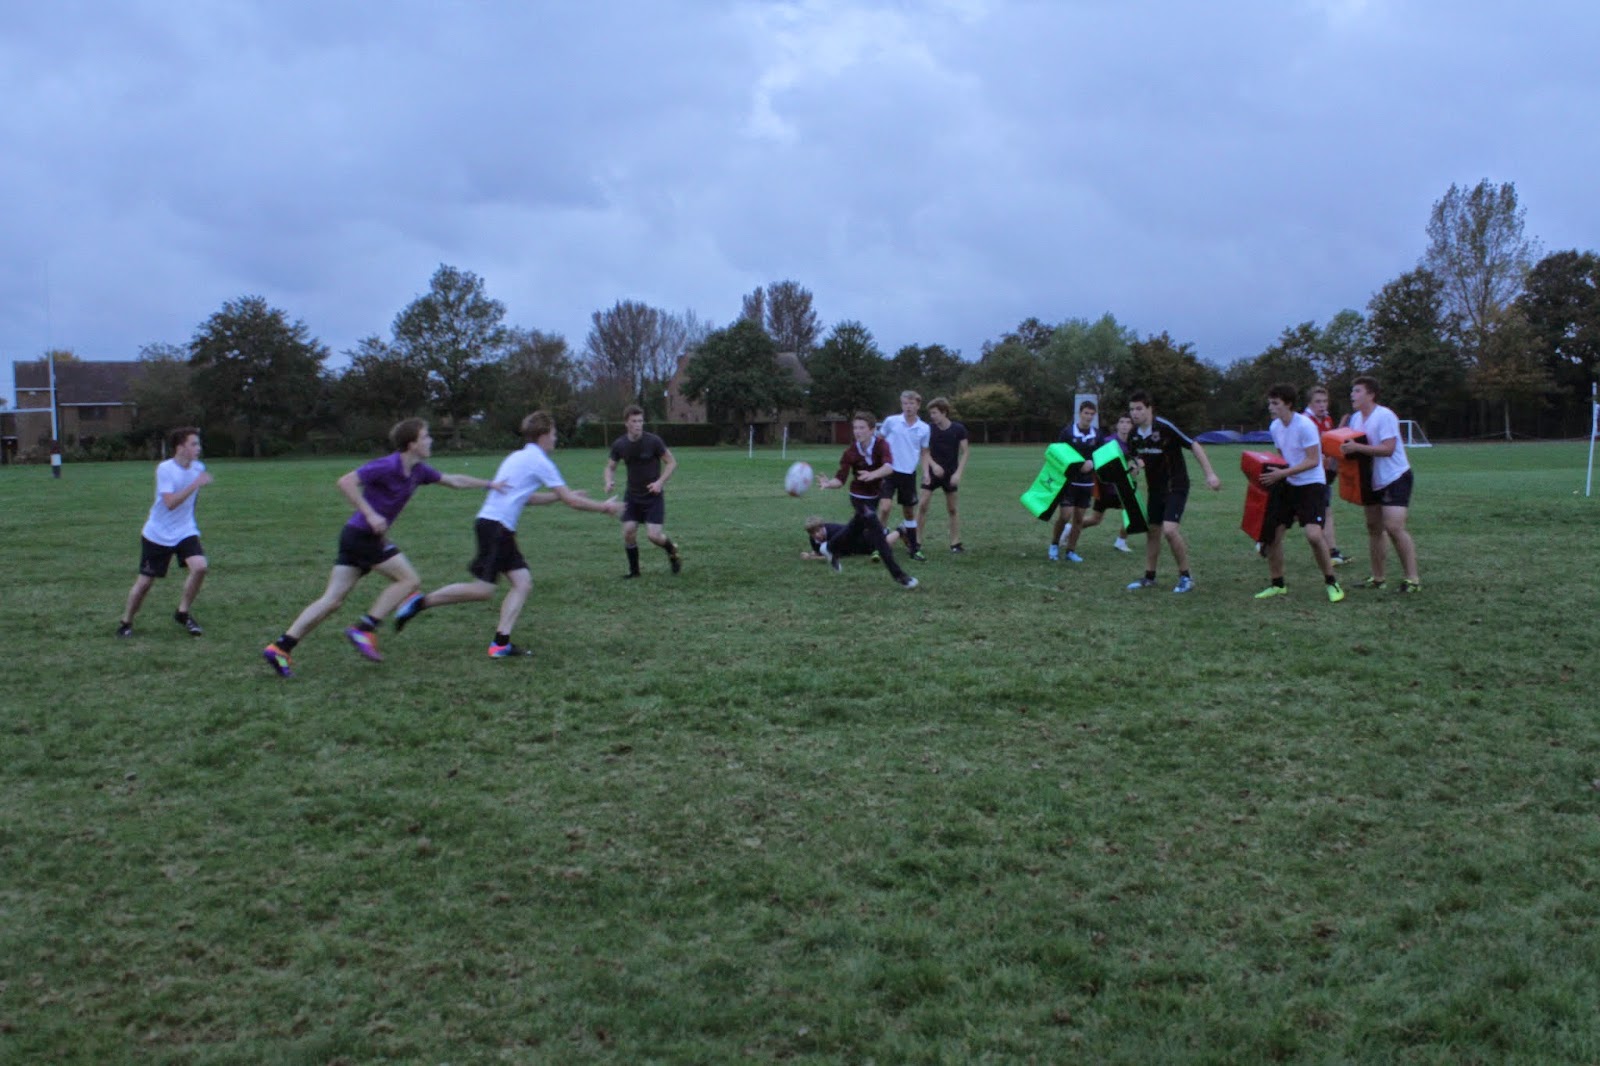
The purpose of this image is to give effect of rugby in motion but have the use of a bright shirt to make the image stand out in a context page within the magazine. 


This purpose of this image is again to give the effect of two different images, which will work we to catch the eye of the reader.


The purpose of this image is to show the struggle of rugby and the effect that rugby has on the body as a sports person. This is enforce sized by the use of the black and white effect.


Thursday, 4 December 2014

Editing Photographic Images P4


The screenshot above to the right shows the tools bar in which allowed me to add a layer which creates a two tone effect on an image by the use of the adjustments tool and having the effect of Hue/Saturation and setting saturation to -100 it allows the image to going from black and white at the top of the screen to the coloured image at the bottom.   

The screenshot on the above on the left shows that I used the paint brush with it in a different shade of grey to show that I was using this tool at the time. The tool allowed my to apply the use of the adjustment tool that I set and wrote about above.   


This screenshot of the image below is another way in which I used the tools above but especially on the the brush tool, which allowed my to just cover the boots. I did this by changing the brush size and by doing this it allowed my to display colour to the edge of the boots, without going outside the boot where it could colour in other objects in the image that I want to keep black and white. The screenshot above shows the brush size tool that I used to give me a finished image. 


The screenshot above shows me using the curve tool. This allows me to darken the black background but high light the objects in the image. This is good because it makes my main object that I am trying to sell stand out.


The screenshots below show the use of a photo filter with the colour yellow. This allows to show the image in a different light, in this case it enlightens the image, this subtle change allows the image to stand out means its a good tool to sell a product through a visual image that a customer can not touch.


The images below shows the process of cropping an image to make an individual stand out. I do this by the use of the tool bar down the right hand side of the page. Then adjust the image to the size that I want to create an new image.   


Photoshop Techniques & Ideas
Colour Isolation

Download the image of fruit
Right click open with Photoshop
Go to - Layer
new layer adjustment
hue & saturation
Go to - Adjustments
Saturation & type in -100
pick up the paint brush (black must be in the foreground
begin painting the area you wish the colour to show through


My main effect was to turn my images in to black and white. I did this by changing the saturation from 0 to -100 as you can see above in the screenshot to the left. On photoshop this is shown in the adjustments session of tools section. I did this because I feel that it gives the images a more dramatic effect. However I did use the paint brush, as you can see on the screenshot above to the right where it allowed me to bring back colour to where I want to put it by painting it in. By doing this it could allow me to enhance the colour of the rugby boot or allow me to make it stand out if the background was black and white but I left the boots in colour. If I did this is will make it easy to establish what I am selling in the magazine.    


Tuesday, 2 December 2014

P3 (a-c)


The mega data shows that I put the camera settings on manual. I did this because I wanted to get the right amount of light showing on the objects in the picture and by putting the settings in manual it allows me set the studio light against the camera lighting to give the photo shot a dramatic effect and looking forward, less time has to go in to the edit on photoshop.

Also the mega data shows that the aperture was set at f/5.6 and the ISO was set at 3200, my reasoning for this is that it gave me the light that I wanted for the shoe to be displays, where it is clear to see that the light is deflecting off the shoe. By having the aperture so low on the camera it allows a lot of light come in which I was looking to do so that it would be clear to see the objects in the photo shot, also the fact that I wanted to have a shallow depth of field which means it makes the objects at the front sharper, in my case this is good because the object at the front of the photo is the object that I am trying to sell and that is the electric green, black and red rugby Nike boots.


The shutter speed that I have picked for this photo is 1/100sec on the manual exposer program. I did this because I wanted the photo is set some natural light on the objects and allow it to reflect off. In this photo the aperture is 4.5 this also is a way in which I will allow light in to the photo. This also gives the photo a lot more depth of field.


Throughout the photos above I have used the same aperture because by having the aperture so low on the camera it allows a lot of light come in which I was looking to do so that it would be clear to see the objects in the photo shot, also the fact that I wanted to have a shallow depth of field which means it makes the objects at the front sharper, in my case this is good because the object at the front of the photo is the object that I am trying to sell and that is the electric green, black and red rugby Nike boots.


The photo above is darker than most, however I chose it because of its darkness it bring across a dramatic affect to the photo, but it is still easy to see the rugby boots in the photo due to the studio lights that were used in the photo shot. I made the photo darker by altering the shutter speed and making it a longer length in which the shutter is open, also compared to where the aperture and the ISO is low the stutter speed is quite high will it at 1/200 sec, where I have usually had it at 1/50 in the other photos where they are brighter.